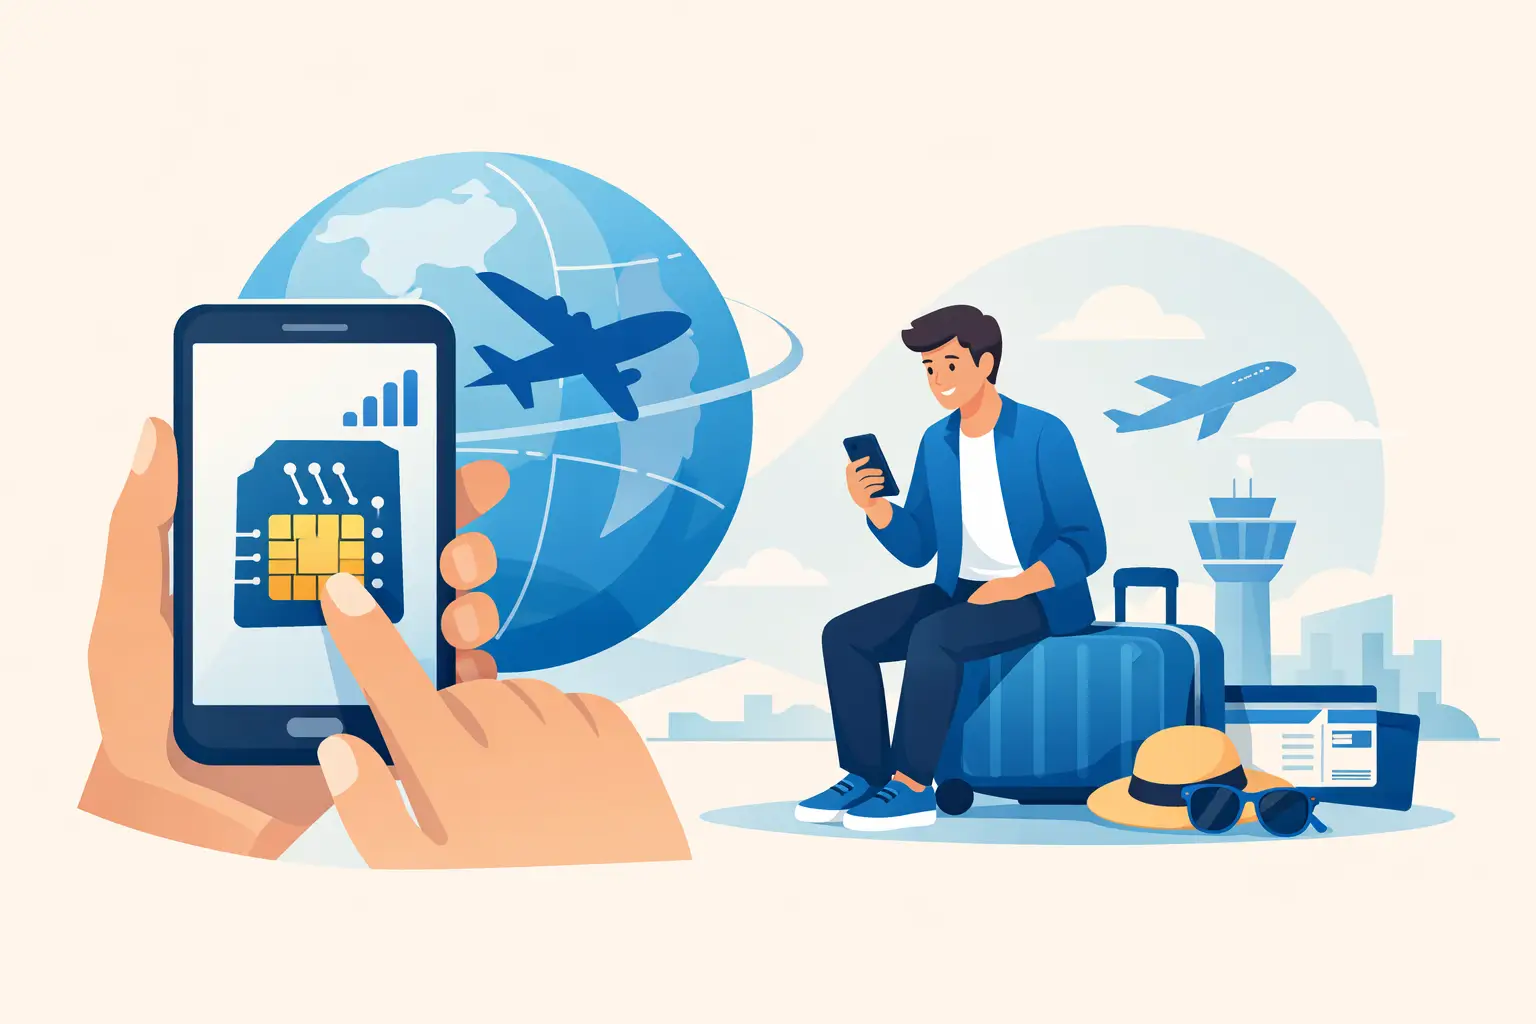
Can you install eSIM before departure? Yes - and for most international trips, installing it at home is the smart move. You can scan the QR code while you have reliable Wi-Fi, confirm that the eSIM appears on your phone, and avoid trying to solve a setup issue in an airport arrivals hall.
The detail that matters is the difference between installing an eSIM and activating or starting its data plan. They are often separate steps, but the timing depends on the plan you buy. Check the plan’s activation policy before you scan anything, especially if your trip is still weeks away.
Install Before You Fly, Activate at the Right Time
An eSIM is a digital SIM profile downloaded to your compatible phone. Installation adds that profile to the device. Activation is when the eSIM connects to its supported network and, depending on the provider’s terms, may start the plan’s validity period.
Many travel eSIM plans begin only when the eSIM first connects to a network at your destination. In that case, you can install the eSIM before departure without using any of your plan days. Keep its data line turned off until you arrive, then enable it when you need it.
Other plans start their validity period immediately after installation, purchase, or manual activation. Those options are still useful, but they should be installed closer to departure. A 7-day plan is not a bargain if two of those days expire while you are still at home.
The practical rule is simple: buy early if you want, read the plan details, and install early only when the activation policy supports it. If the plan starts on first network connection, setting it up one or two days before your flight gives you the best balance of preparation and control.
Why Installing an eSIM Before Departure Helps
Your first hour in a new country is when mobile data matters most. You may need a rideshare, transit directions, a hotel message, a boarding pass, a work login, or a map that does more than show a blue dot without loading the streets around it.
Installing at home means you can use stable Wi-Fi, take your time with the QR code, and handle any device prompts without pressure. If your phone asks you to label the new line, select a default voice line, or choose a data SIM, you can make those decisions calmly before travel day.
It also gives you time to confirm compatibility. Your device must support eSIM and be carrier-unlocked for international travel eSIMs. A phone may have eSIM capability but still be locked to a domestic carrier, which can prevent a travel profile from working as expected.
For travelers who keep their US number active for calls and two-factor authentication, pre-installation makes dual-SIM settings easier to manage. You can leave your primary line available for calls and texts while assigning mobile data to the travel eSIM after landing. That approach can help reduce roaming charges, but check your home carrier’s roaming settings first.
When You Should Wait to Install
There are a few situations where waiting is the better choice. The first is an eSIM plan that begins as soon as it is installed or activated. If that is the policy, install it shortly before you leave rather than immediately after purchase.
The second is a phone with limited eSIM storage. Modern devices can usually store multiple eSIM profiles, but the number that can be active at once varies by model. If old profiles are taking up space, remove only the ones you no longer need. Never delete an unused travel eSIM just because it looks inactive. Reinstalling may require a new QR code or support assistance.
You may also want to wait if your itinerary is uncertain. A regional eSIM can be convenient for a multi-country trip, but a single-country plan may offer better value when your destination is final. Choose coverage based on where you will actually use data, including transit stops if you expect to leave the airport.
How to Set Up Your Travel eSIM Before Departure
The exact screen names vary between iPhone and Android, but the process is similar. Plan to complete it over Wi-Fi and save the QR code or activation details somewhere you can access offline.
- Confirm your phone is unlocked and eSIM-compatible. Check your device settings and make sure your current carrier has not restricted the phone to its network.
- Buy the right destination and data plan. Consider trip length, expected data use, and whether you need coverage in more than one country. Navigation and messaging use relatively little data. Video calls, social uploads, cloud backups, and laptop tethering use much more.
- Add the eSIM using the QR code or manual details. On an iPhone, this is generally under Cellular or Mobile Data in Settings. On Android, look for SIM Manager, Network & Internet, or a similar mobile network menu. Follow the on-screen prompts until the profile is added.
- Label the line and keep travel data off until needed. A clear label such as “Italy Travel” or “Asia Data” prevents mistakes later. If the plan starts upon first connection, turn off that line or disable data roaming for it until arrival, based on the provider’s instructions.
- Enable it at your destination and test data. Turn on the travel eSIM, set it as the mobile data line, enable data roaming if the plan requires it, and wait a few minutes for network registration. If data does not work immediately, restart the phone and recheck the settings.
Settings That Prevent Surprise Roaming Charges
Installing an eSIM does not automatically stop your regular US line from using data. Before you fly, go into cellular settings and turn off data roaming for your primary line. Then make sure your travel eSIM is selected as the mobile data line once you arrive.
If your phone offers “cellular data switching” or “allow data switching,” consider turning it off. That setting can let the phone fall back to your primary line when the travel eSIM has a weak signal. It is convenient at home, but it can create an unwanted roaming charge abroad.
Keep your primary line on only if you need it for calls, SMS verification, or iMessage and FaceTime registration. Remember that receiving standard SMS may be free or may not be, depending on your carrier. Calls, outgoing texts, voicemail retrieval, and data use can carry international costs.
Common Problems and Fast Fixes
The most common issue is scanning a QR code that has already been used. Many eSIM QR codes are single-use, so do not scan it repeatedly or share it between devices. If installation fails halfway through, stop and check the instructions before deleting anything.
Another frequent issue is expecting service before arrival. A destination-specific eSIM may not connect to a supported network in the US, and that does not mean it is defective. It is simply outside its coverage area.
If you land and have no data, first verify that the travel eSIM is turned on and selected for mobile data. Next, enable data roaming on that eSIM if required. Then toggle airplane mode for 10 seconds or restart the phone. Manual network selection can help in some cases, but automatic selection is usually the right first setting.
A screenshot of your QR code, plan details, and activation instructions can save time when Wi-Fi is unavailable. Better yet, store them in a secure offline note before leaving. eSimy provides digital travel eSIMs by QR code, so you can complete setup without a store visit or a physical SIM tray.
A Better Departure-Day Routine
Do not leave connectivity as the last item on your packing list. Install the eligible eSIM before departure, label it clearly, turn off roaming on your primary line, and keep the activation details available offline. Then, when the plane lands, you are making one setting change instead of starting a technical project.
That small bit of preparation gives you something more useful than a perfect travel checklist: the ability to message, navigate, and move with confidence from the moment you arrive.