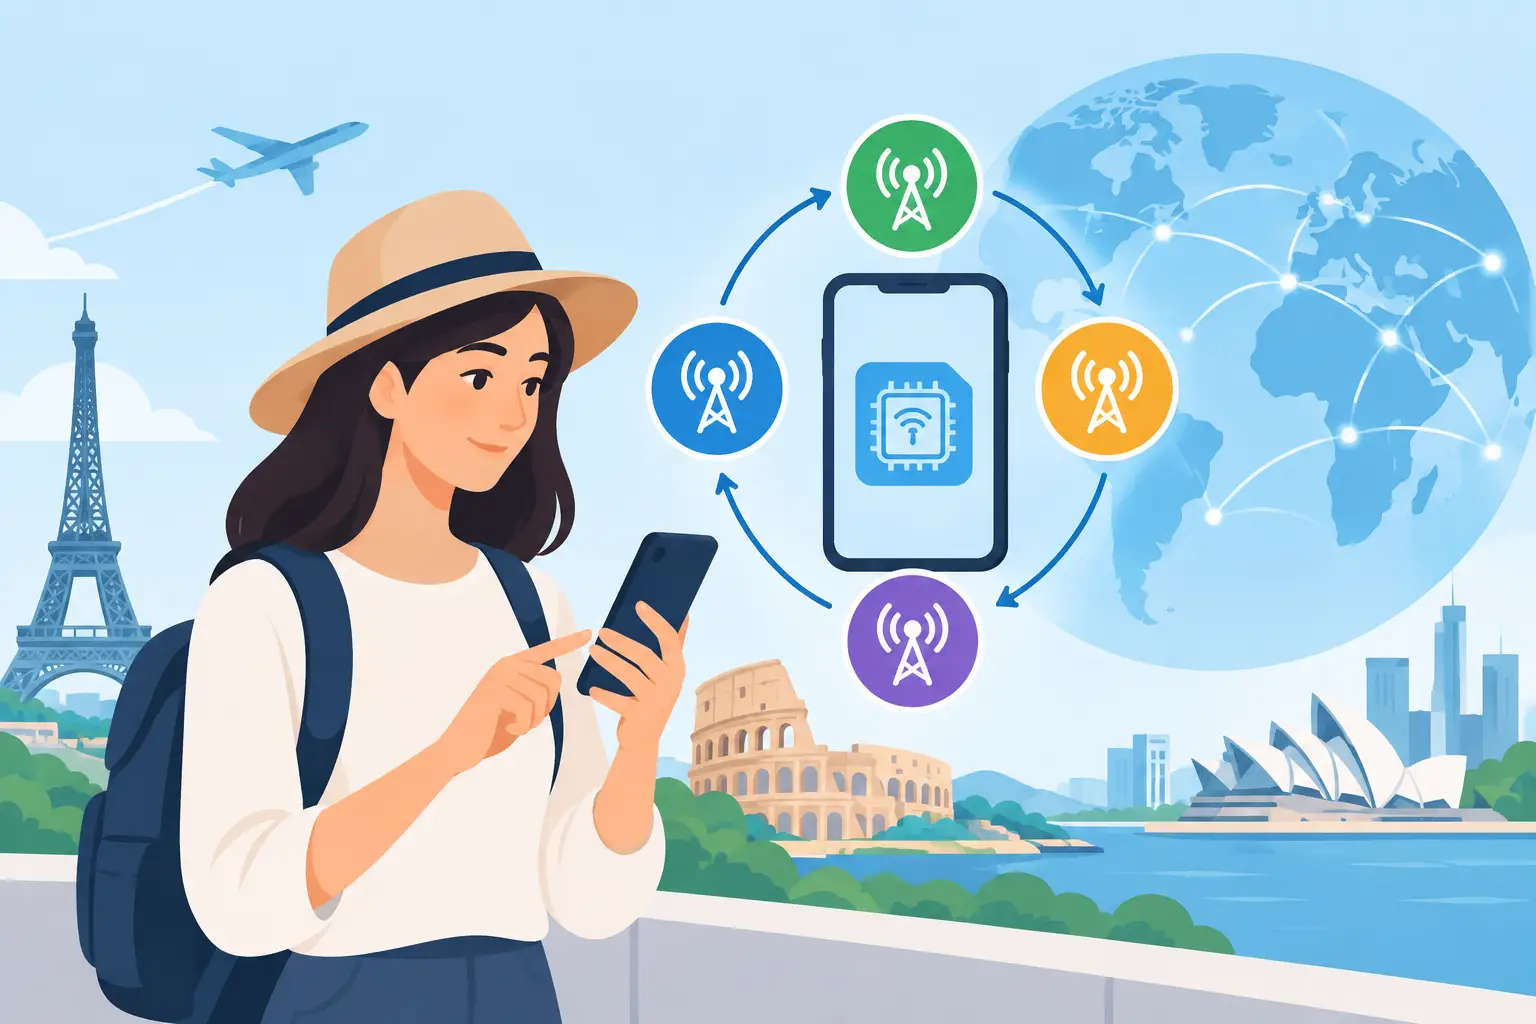
Landing in a new country with no maps, messages, or ride-share access is avoidable. eSIM data switching lets you control which mobile line provides data on your phone, so you can use a travel plan abroad while keeping your regular number available for calls, texts, and account verification.
For travelers, this is one of the most useful advantages of an eSIM-compatible phone. You do not need to remove your physical SIM, visit a carrier store, or gamble on expensive international roaming. You simply choose the right data line at the right time.
How eSIM Data Switching Works
Most newer smartphones support Dual SIM functionality. That can mean one physical SIM plus one eSIM, or multiple installed eSIMs with one or two active at a time, depending on the device. Your phone treats each line separately: one can handle calls and texts, while another handles cellular data.
For example, your US carrier line can remain active for receiving important texts, including two-factor authentication codes. At the same time, your travel eSIM can become your cellular data line for Google Maps, WhatsApp, email, work apps, and browsing. This setup gives you more control than turning on international roaming and hoping the charges stay reasonable.
The key setting is usually called Cellular Data, Mobile Data, or Data SIM. Once your travel eSIM is installed, select it as the line used for mobile data. On many phones, you can also turn off data roaming for your primary US line. That extra step helps prevent your home carrier from using data in the background.
Your exact menu labels will vary by iPhone and Android model, but the principle is the same: install the eSIM, name it clearly, select it for data, and check that your primary line is not roaming for data.
What switching does and does not change
Changing your data line does not automatically change the phone number used for calls or SMS. Your primary line can still receive calls and text messages if it has network service and your carrier supports it overseas. However, standard carrier charges may still apply to calls, outgoing texts, voicemail, and roaming services on that line.
A travel eSIM is generally built for data. It gives you internet access through local partner networks, but it may not include a local phone number or traditional SMS. Apps such as WhatsApp, FaceTime, iMessage, Google Meet, Slack, and email continue working through data, which is what most travelers need day to day.
Set Up eSIM Data Switching Before Departure
The easiest time to install a travel eSIM is before you board. Buy your plan, receive the QR code, and add the eSIM while you still have reliable Wi-Fi. You can then label the line something obvious, such as “Europe Data,” “Japan Trip,” or “Travel eSIM.” Clear labels matter when you have more than one plan installed.
Avoid turning on the travel eSIM too early if its validity period starts upon installation or activation. Plan rules differ. Some eSIMs begin when they first connect to a supported network at your destination, while others may begin at installation. Check the plan details before scanning the QR code, especially if you are preparing days or weeks ahead.
Once installed, keep the eSIM line turned on and select it as your data line when you land. If the plan requires data roaming to work, enable roaming only for the travel eSIM. This can feel counterintuitive, but it is normal for travel eSIMs that connect to partner networks outside the issuing carrier's home network. Keep roaming disabled on your primary line unless you intend to use your carrier's travel service.
A reliable setup takes four quick checks:
- Confirm that your phone is unlocked and supports eSIM.
- Install the travel eSIM using the QR code before departure when possible.
- Set the travel eSIM as the Cellular Data or Mobile Data line.
- Turn off cellular data roaming on your primary carrier line.
After you arrive, give the phone a minute or two to register on a local network. If it does not connect, toggle Airplane Mode on and off, restart the device, or check whether the eSIM line is enabled. Manual network selection may help in some locations, but automatic selection is usually the right first choice.
When Should You Switch Data Lines?
Switch your data line as soon as you arrive in the country or region covered by your travel plan. If you are taking a multi-country trip, you may be able to keep the same regional eSIM active across borders. That depends on the plan's coverage list. A Europe plan, for instance, may work in many destinations but not every country on the continent.
Switch again when your plan runs out of data, expires, or no longer covers your location. If you installed a backup eSIM for the next leg of your trip, select that line for data when you cross into its coverage area. You do not need to delete the previous eSIM immediately. Keeping it installed can make it easier to review its settings or use remaining data where it is still valid.
Some phones offer a setting that allows cellular data switching between lines automatically. For international travel, leaving that feature off is often safer. If enabled, your phone may fall back to your primary US line when the travel eSIM has a weak signal, which can create unwanted roaming use. Manual control takes a few seconds and gives you a clearer view of where your data is coming from.
Avoid These Common Data Switching Mistakes
The most common mistake is assuming that installing an eSIM automatically makes it the active data source. Installation and data selection are separate actions. Always verify the chosen data line in your phone settings after setup.
Another issue is leaving your primary line's data roaming enabled. Background services can use small amounts of data without you noticing. Photo syncing, app updates, email refreshes, and location services all add up. Turn off automatic app updates over cellular data, and use Wi-Fi for large backups or software downloads when possible.
Travelers also sometimes delete an eSIM after a connection problem, then discover they cannot reuse the QR code. Many eSIM profiles are designed for one-time installation. Before removing anything, confirm whether the issue is a settings problem, a coverage limitation, or a temporary network delay. Restarting the phone and checking the selected data line solves more problems than most people expect.
Finally, do not confuse signal bars with data access. Your phone may show a local network connection while mobile data is blocked because roaming is disabled on the travel eSIM, the plan has not started, APN settings need updating, or the plan has been used up. Check the eSIM's plan instructions and your remaining balance before assuming the line has failed.
Choosing the Right Travel eSIM Plan
Your switching experience is easier when the plan matches your actual route and data habits. A weekend city break may only need a small country plan for maps, messaging, and restaurant searches. A remote work trip with video calls, hotspot use, cloud files, and frequent navigation calls for more data or a larger regional package.
Country-specific plans can be cost-effective when you are staying in one place. Regional plans reduce the need for eSIM data switching at each border, making them a better fit for multi-stop itineraries. Global plans offer broad flexibility, though their coverage and data allowances may be different from regional options. The best choice depends on where you are going, how long you will stay, and how heavily you use data.
eSimy offers prepaid travel eSIMs for travelers who want instant QR activation and coverage across 194+ countries. Choose your destination, install your eSIM in minutes, and make it your active data line when your trip begins.
The goal is not to constantly manage your phone. Set the right data line once, keep your home roaming settings under control, and let your phone handle the useful parts of travel: getting you where you need to go, keeping work moving, and helping you stay in touch.