You do not want to be standing in an airport trying to load a rideshare app on bad Wi-Fi while your phone keeps saying “No Service.” That is exactly why a qr code esim installation guide matters. If your eSIM is delivered instantly and your phone is compatible, you can usually get connected in minutes - but only if you follow the setup steps in the right order.
This guide is built for travelers who want the fastest path from purchase to working data. No store visit, no plastic SIM tray, no guesswork.
Before You Scan the QR Code
The most common installation problems happen before the QR code is ever scanned. Start with the basics.
First, make sure your phone supports eSIM. Most newer iPhones, Samsung Galaxy devices, Google Pixel phones, and many premium models do, but not every version sold in every market includes eSIM support. Carrier-locked phones can also cause issues, even if the device itself is technically compatible. If your phone is locked to your home carrier, the eSIM may fail during setup or activation.
Second, make sure you have a stable internet connection. Installing an eSIM requires Wi-Fi or another active data connection because the phone has to download the eSIM profile. If you wait until after landing and have no internet, setup becomes harder than it needs to be.
Third, check whether your provider recommends installing before travel or after arrival. Some plans activate only when they connect to a supported network at your destination. Others may begin based on installation timing or first network use. It depends on the plan, so read the activation instructions that came with your purchase.
QR Code eSIM Installation Guide: The Fast Setup Flow
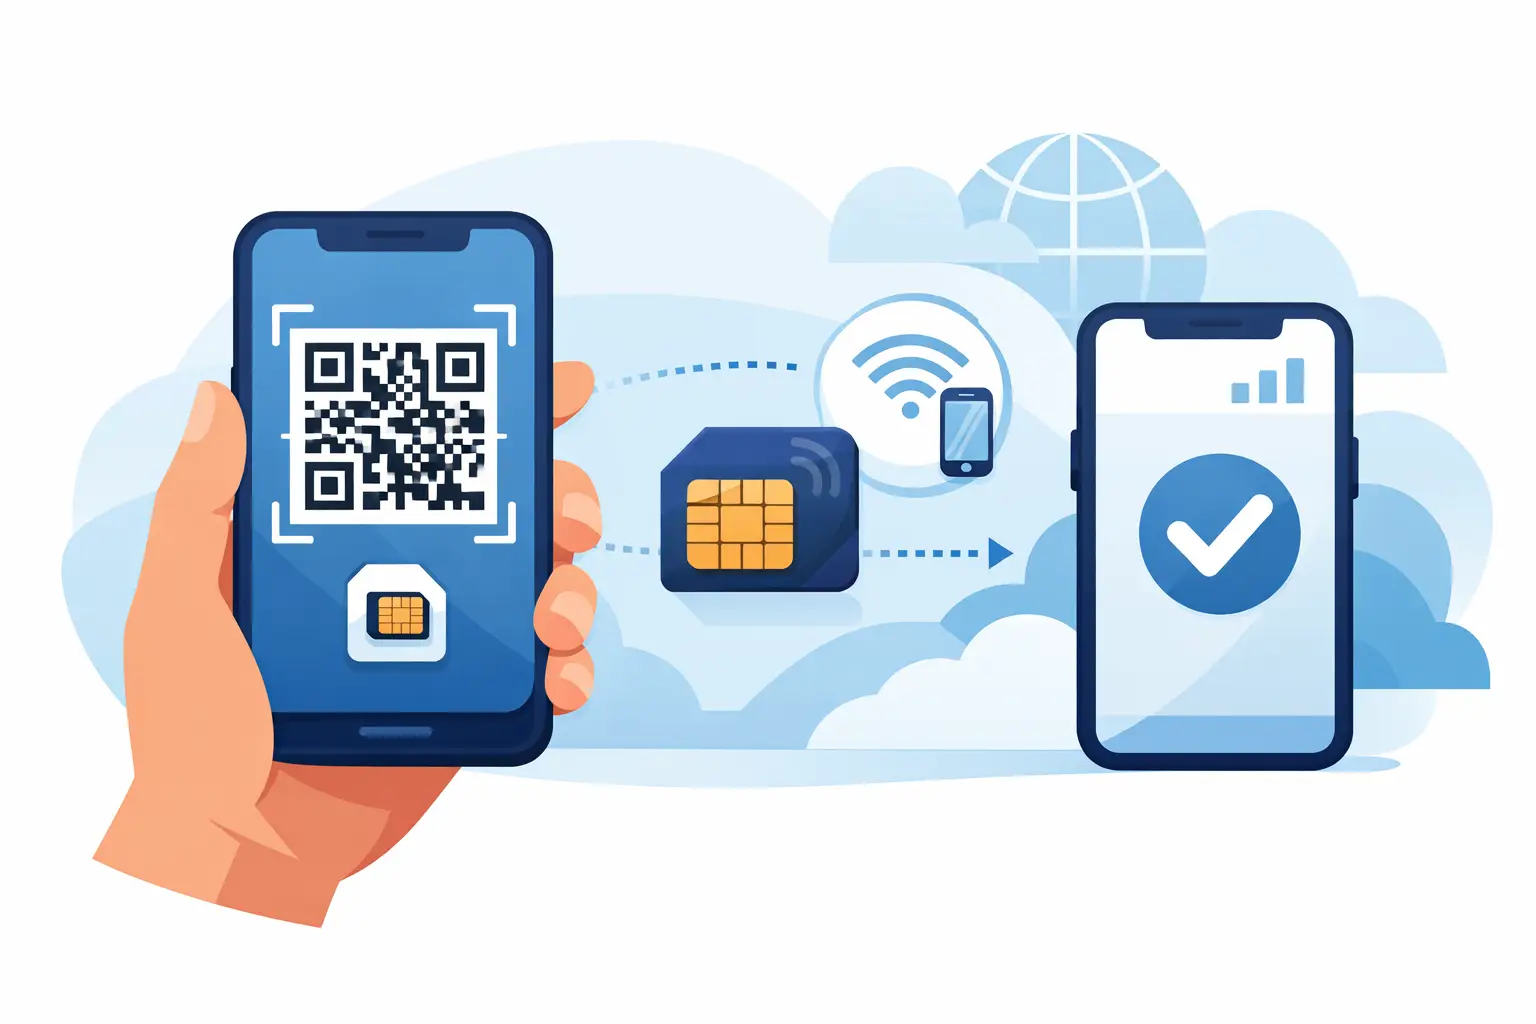
In most cases, the process is straightforward. You buy a plan, receive a QR code by email or on-screen, open your phone settings, and scan the code to add the cellular plan.
On iPhone, go to Settings, then Cellular or Mobile Data, then Add eSIM or Add Cellular Plan. Your camera will open for scanning. Point it at the QR code and follow the prompts to add the plan.
On Android, the wording varies by brand, but it is usually under Settings, then Connections, Network & Internet, or SIM Manager, followed by Add eSIM or Download SIM. Samsung and Pixel devices make this fairly simple, though menu names can differ a bit.
Once the phone detects the eSIM profile, you will be asked to confirm installation. After that, you may see options to label the plan, choose a default line for calls and texts, and decide which line should be used for mobile data. This part matters more than people expect.
If you are traveling and want to keep your primary number active for calls or texts, you can usually leave your physical SIM or primary eSIM turned on and set the travel eSIM as the data line. That setup works well for many travelers, but it is not always the cheapest option. If your home carrier charges for roaming when the primary line stays active, you may want to turn off data roaming on your home line or disable it entirely while abroad.
What to Do Right After Installation
Installing the eSIM is only half the job. The next step is making sure the phone uses it correctly.
Open your cellular settings and confirm the new eSIM is switched on. Then check that mobile data is assigned to the new travel plan. If the eSIM provider requires data roaming to be enabled on that line, turn it on for the travel eSIM only. This sounds backward to some people, but many international eSIMs rely on roaming agreements to connect in multiple countries.
If your phone offers “Allow Cellular Data Switching,” use caution. That feature can cause your device to pull data from your primary line if the travel eSIM signal drops. For some travelers, that means surprise roaming charges. Turning that setting off gives you more control.
You should also restart the phone after installation if service does not appear right away. A reboot often helps the device register the eSIM profile and connect to a local network.
When to Install Your Travel eSIM
There is no one answer for every trip. If you are leaving soon, installing before departure is usually the safer move because you can do it while you still have reliable internet and time to troubleshoot. That is the low-stress option.
But there is a trade-off. Some travelers prefer to wait until just before landing or after arrival if they are worried about starting the validity period too early. Whether that concern applies depends on how the eSIM plan is structured. Some plans start when installed, some when connected to a supported destination network, and some based on a fixed schedule. Always check the plan rules first.
For most people, the practical approach is simple: install early, keep the line off if needed, and enable it when the trip begins.
QR Code eSIM Installation Guide for Common Problems
If the QR code does not scan, the issue is often something small. The brightness may be too low, the code may be blurry, or the phone camera may not be recognizing the full image. Try increasing screen brightness on the device showing the QR code, cleaning the camera lens, and holding the phone steady. If you printed the code, use the digital version instead if possible.
If your phone says the cellular plan cannot be added, check whether the QR code has already been used. Many eSIM profiles are designed for one-time installation. If the profile was added once and then deleted, it may not be reusable. In that case, you may need a fresh code from support.
If installation works but there is still no signal, confirm that the eSIM line is turned on, mobile data is assigned to it, and data roaming is enabled if required. Then manually select a network if your device allows it. Automatic network selection works most of the time, but not always.
If the phone shows signal bars but data does not work, the APN settings may need to be entered manually. Some providers configure this automatically, while others send APN details with the eSIM instructions. This is less common than it used to be, but it still happens on certain networks and devices.
If none of that fixes it, check for a device lock. A locked phone is one of the most frequent causes of failed eSIM activation, and travelers often discover it too late.
A Few Setup Choices That Affect Your Trip
The fastest setup is not always the best setup. If you use dual SIM, think through how you want your phone to behave.
If you need your regular number for banking codes or work calls, keep your main line active but make sure its data roaming is off. If you only care about data and want to avoid any chance of home-carrier charges, switch off the primary line during the trip.
If you are visiting multiple countries, confirm whether your eSIM plan covers one country, a region, or truly global use. A QR installation can be quick, but coverage rules still matter. The easier purchase is not always the better plan if it does not match your route.
This is where a provider built for fast travel setup helps. eSimy, for example, focuses on instant QR activation, broad country coverage, flexible checkout, and support when you need a quick fix instead of a long support chain.
Best Practices for a Smooth Install
Use one device to display the QR code and the phone you want to activate to scan it. If you only have one device, check whether your provider also includes manual activation details such as an SM-DP+ address and activation code. That gives you a backup path.
Take a screenshot or save the activation email somewhere easy to access before your trip. If airport Wi-Fi is weak and your inbox will not load, you will be glad you did.
Install in a calm moment, not while boarding starts. eSIM setup is usually quick, but travel days are full of distractions. A five-minute task can turn into twenty if you are rushing and tap the wrong line settings.
Finally, do not delete your eSIM once the trip ends unless you are sure you will never need it again. Some profiles cannot be reinstalled. Turning the line off is often the safer choice until you know the plan is fully used.
If You Want the Least Friction, Keep It Simple
A good qr code esim installation guide should make one thing clear: the process is easy when the phone is compatible, unlocked, and set up with the right line settings. Most failures come from skipping pre-checks, using the wrong default data line, or misunderstanding when the plan activates.
If you handle those three points early, the rest is usually quick. Buy the right plan, install over Wi-Fi, assign the travel eSIM for data, and check roaming settings before takeoff. Future you, standing in a new city with maps loading instantly, will appreciate the extra two minutes.